Remodeling 101: The Surprising Virtues of Spray Paint (Plus a Few Tips)


2. Use a primer, always.
I forget to use a spray paint primer every single time I spray paint, and every single time I regret it—especially when my dried spray paint starts peeling off in giant pieces. Get a good primer and prime first. Every time. You’ll be glad.
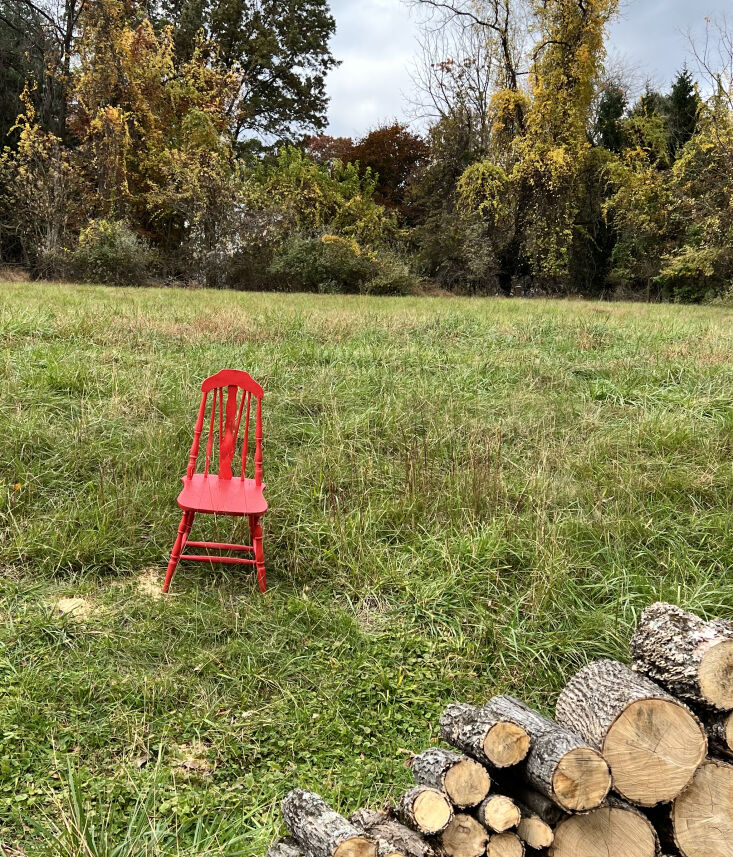
That being said, I mostly use Rust-Oleum’s Painter’s Touch spray paints, which are a combined primer and paint in one—and, bonus, come in matte. The red, for instance, on my chairs is their yummy Poppy ($6.48 at Home Depot).
3. Apply multiple thin coats.
One of the lessons I learn the hard way over and over again is that multiple thin coats is about a thousand times better than one or two thick coats. Just give the surface of your furniture or object a light spraying treatment. Unless it’s rainy or really muggy, most spray paint dries in an hour or two, so then you can just do another coat and another and another until you’re satisfied. This is much better than having giant runny drips on your finished product.
As a general rule, you don’t want to be too close when you’re spraying. I usually shoot for a foot away, maybe a smidge less. And spray not just from edge to edge but actually off the edges of your piece. Otherwise, you’re likely to get some pooling and drips from overpaint on the edges of your project.
4. Use a top coat.
Big, big fan of top coat here. I use clear matte finish spray—usually either Rust-Oleum’s Painter’s Touch matte clear or Minwax Polycrylic matte clear—to top off basically everything I do.
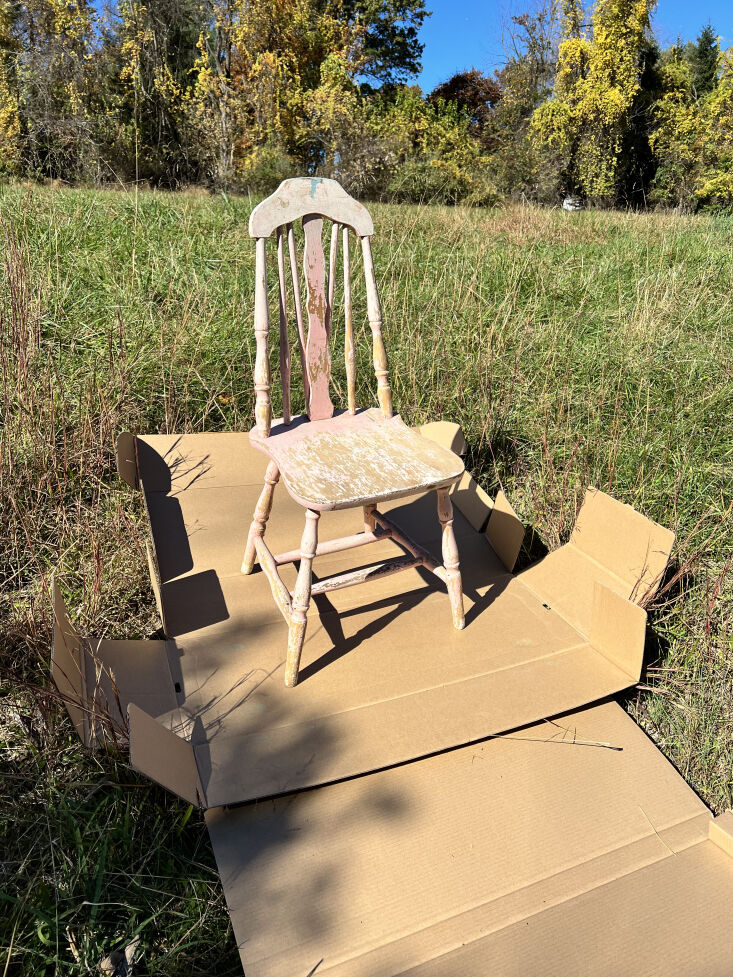
To be clear, the yard sale chairs that I didn’t sand down and forgot to prime and then painted and put around a table in my backyard and left there through a whole summer and fall of rainstorms have started chipping and peeling a smidge—but they would be totally unusable were it not for a few coats of protective finish spray. I also just made a sign to put at the end of my driveway diverting deliveries to my package box, and after I stained a piece of wood and painted lettering on it, I hit it with a few coats of Minwax Polycrylic matte clear, and it still looks just as good as when I finished it.

5. Be prepared to get messy.
Get a pair of junky sneakers or shoes that you use for spray painting; these are actually also helpful for all painting (drips, anyone?). Early on this summer, I made the mistake of using blue glitter spray paint while wearing sandals. I had semi-permanent blue stripes on my feet for several weeks of beach season. So watch out there.
Final point: I ignore a lot of the rules above a lot of the time. I’m impatient, I should sand things down before I spray them, I should spray thinner coats, etc. And sometimes I do when I want perfection. But sometimes I’m using spray paint in the first place because I want a quick and dirty solution and I’m okay with a more rough, quick, and dirty outcome. So know that going into your spray paint adventure: quality effort in, quality results out.
N.B.: For info on how and where to recycle spray paint cans once you’re through with them, head here.
For more painting tips and tricks, see:
You need to login or register to view and manage your bookmarks.


