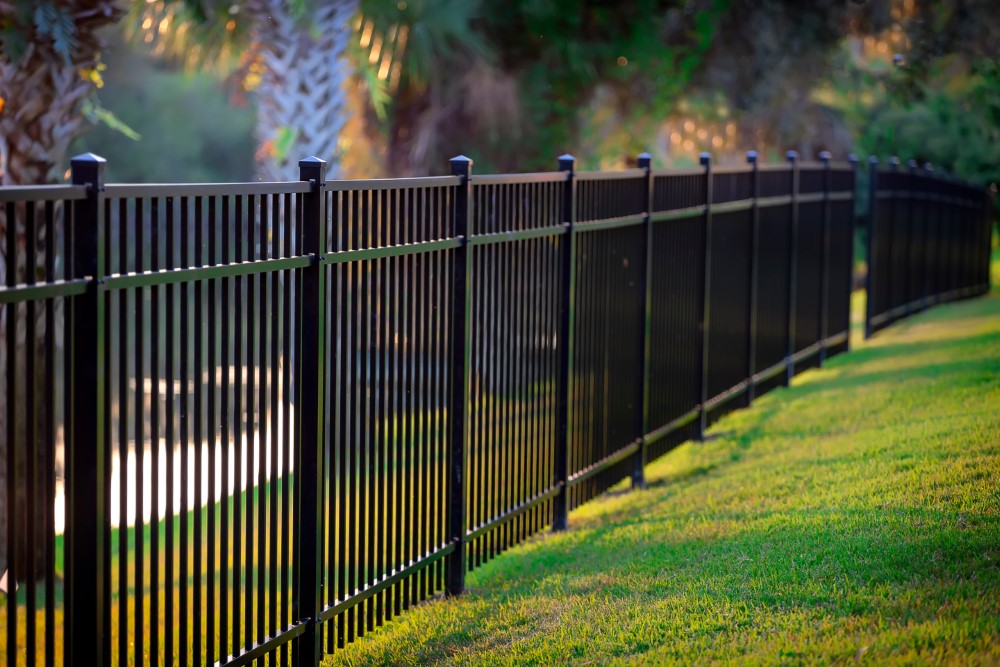
How to Install an Aluminum Fence in 5 Easy Steps

Installing an aluminum fence is a smart way to add security, beauty, and value to your property. Known for its low maintenance, rust resistance, and elegant look, an aluminum fence is a popular choice among homeowners and businesses alike. The best part? You don’t need to be a professional contractor to install one. With a little planning and the right tools, you can complete the job yourself. Here’s a step-by-step guide to help you install an aluminum fence in just five easy steps.
Step 1: Plan and Measure Your Fence Layout
The first and most critical step in installing an aluminum fence is proper planning. Walk around the perimeter of your property and determine where you want the fence to go. Use stakes and string to outline the fence path. This helps visualize the layout and ensures the lines are straight and the corners are accurate.
Measure the entire perimeter carefully and note the total length. Then divide the total length by the width of your fence panels to determine how many panels you’ll need. Be sure to factor in posts for corners, gates, and ends. Most aluminum fence kits include pre-measured panels, so having accurate numbers from the beginning will save you time and money.
Step 2: Mark the Post Locations
Once the layout is confirmed, mark the exact locations where each post will be installed. This includes line posts, corner posts, and gate posts. Use spray paint or small flags to mark the spots. Keep in mind that post spacing must match the panel widths exactly — usually 6 to 8 feet apart depending on the style.
Double-check your measurements to ensure consistency and symmetry throughout the entire fence line. Proper spacing is critical, especially for aluminum fence panels that are designed to snap or screw into the posts.
Step 3: Dig and Set Fence Posts
After marking the post locations, it’s time to dig the holes. Use a post hole digger or an auger to dig holes that are about 24 inches deep and 6 to 8 inches in diameter. In colder climates, you may need to go deeper to get below the frost line.
Once the holes are ready, set the posts in place using concrete. Make sure each post is level and plumb using a post level. It’s best to pour the concrete and allow it to set for at least 24 hours before attaching panels. Keep the height of each post consistent for a uniform fence line.
Aluminum fence posts are typically pre-punched to accommodate panels, so orientation matters. Be sure the holes face the correct direction before the concrete hardens.
Step 4: Attach the Fence Panels
Once the posts are firmly set and the concrete has cured, you can begin attaching the aluminum fence panels. Most modern aluminum fencing systems use a “rackable” design, which allows the panels to adjust slightly for uneven terrain. This is especially useful on sloped ground.
Slide the rails of each panel into the post holes and secure them using screws or brackets provided in your fence kit. Use a level to ensure the panels are straight and even as you go. If your panels don’t line up perfectly, adjust the position slightly before fully tightening the hardware.
Take your time during this step — a little patience here will result in a professional-looking finish.
Step 5: Install the Gates and Final Touches
Now that the main fence is up, it’s time to install your aluminum fence gates. Gate kits typically include the frame, hinges, latch, and required hardware. Follow the manufacturer’s instructions closely when assembling and attaching your gate.
Ensure the gate is level and swings freely. Adjust hinges and the latch if necessary. Finally, go around the entire fence and inspect for any loose screws or uneven panels. Tighten all connections and make any last-minute adjustments.
Some aluminum fences come with optional post caps or decorative finials. Installing these final touches will add charm and complete the look of your new fence.
Why Choose an Aluminum Fence?
Besides being easy to install, aluminum fences offer several long-term benefits. They’re highly resistant to rust, making them ideal for wet or coastal climates. Unlike wood, aluminum won’t warp, crack, or require repainting. And compared to wrought iron, it’s lighter, more affordable, and virtually maintenance-free.
Aluminum fence designs come in various styles and colors, so you can choose one that complements your home’s architecture. Whether you want added security, improved curb appeal, or a safe enclosure for pets and children, aluminum fencing delivers both function and style.
Conclusion
Installing an aluminum fence may seem intimidating, but by breaking it down into five easy steps — planning, marking, digging, attaching, and finishing — the process becomes manageable and even enjoyable. With a weekend’s worth of effort, you can create a beautiful and lasting boundary around your home. So grab your tools, follow this guide, and take the first step toward a more secure and attractive property.


